Your refrigerator is the unsung hero of your kitchen, working tirelessly to keep your food fresh and your drinks cold. But did you know that regular maintenance, specifically cleaning the refrigerator coils, can significantly impact its performance and energy efficiency? Over time, dust and debris can accumulate on the coils, causing your fridge to work harder and consume more energy. Along with experts from ABV appliance repair company which provides services of refrigerator repair in Boston, we’ll walk you through the process of cleaning refrigerator coils to keep your appliance running smoothly and your energy bills in check.
Understanding Refrigerator Coils
Refrigerator coils are an essential component responsible for releasing heat from the appliance, helping to cool the interior. There are two types of coils: condenser coils, usually located at the back or bottom of the fridge, and evaporator coils, found inside the appliance. It’s the condenser coils that require regular cleaning to maintain optimal performance. You can try to fix it by yourself, or call refrigerator repair services in your town.
Safety Precautions to Clean Refrigerator Coils
Before you begin, ensure your safety and unplug the refrigerator from the power outlet. Cleaning the coils while the fridge is still connected to electricity can be dangerous and should be avoided at all costs.
Steps to Clean Refrigerator Coils with Ease
1. Gathering Supplies
To clean your refrigerator coils, you’ll need the following supplies:
- Vacuum cleaner with a brush attachment
- Coil cleaning brush (a long, thin brush specifically designed for this purpose)
- Soft cloths or paper towels
- Mild detergent or coil cleaning solution (avoid using harsh chemicals)
2. Accessing the Coils
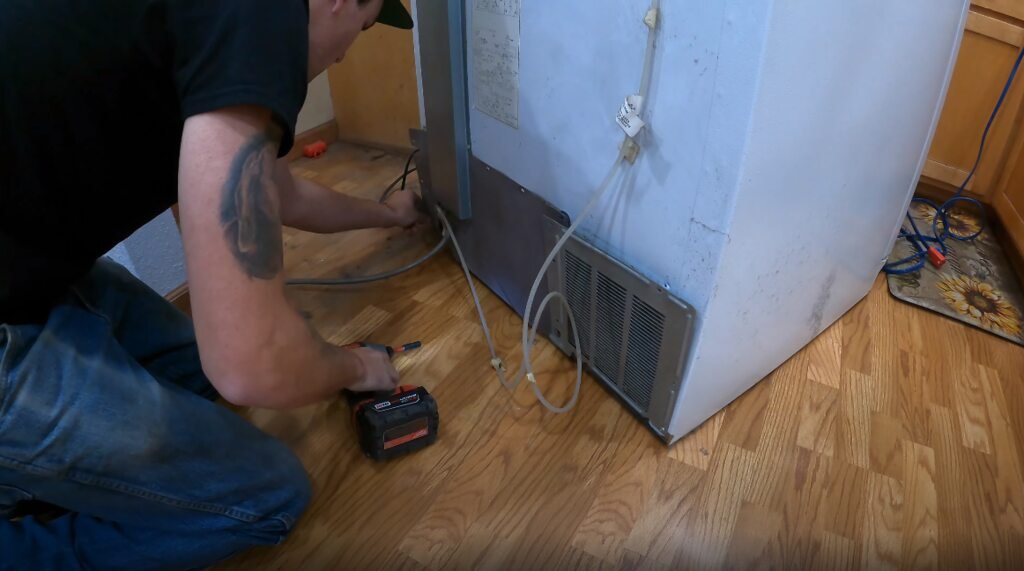
Depending on the refrigerator model, the coils can be located at the back, beneath, or on top of the appliance. Check the user manual for specific instructions on accessing the coils. You may need to remove a back panel or grille to reach them.
3. Vacuuming Loose Debris
Once you have access to the coils, start by using the vacuum cleaner with the brush attachment to gently remove loose dirt and debris. Be careful not to apply excessive pressure, as the coils can be delicate.
4. Brushing Away Stubborn Dirt
After vacuuming, take the coil cleaning brush and carefully brush away any stubborn dirt or dust that the vacuum might have missed. Work gently and ensure you cover the entire surface of the coils.
5. Wiping Down the Coils
If there are any greasy or sticky residues on the coils, dampen a soft cloth or paper towel with mild detergent or coil cleaning solution. Wipe down the coils gently to remove these residues. Avoid using excessive water, as moisture can damage the coils and other components.
6. Cleaning the Kickplate and Grille
While you’re at it, take the opportunity to clean the kickplate (the front panel near the floor) and the grille (if applicable). These areas can also accumulate dirt and dust, affecting the fridge’s overall efficiency.
7. Reconnecting the Refrigerator
Once you’re satisfied with the cleanliness of the coils, carefully reattach any panels or grilles that you removed earlier. Plug the refrigerator back into the power outlet.
Maintenance Tips to Keep Refrigerator Coils Good
- Aim to clean the refrigerator coils at least once every six months or more frequently if you have pets or live in a dusty environment.
- Keep the area around the refrigerator clean and free from dust and debris to reduce the buildup on the coils.
- Regularly check the refrigerator door seals for any gaps or damage. A tight seal is crucial for optimal cooling and efficiency.
Final Words
By following these simple steps and making refrigerator coil cleaning a part of your regular home maintenance routine, you can ensure that your fridge runs efficiently and extends its lifespan. Not only will you save on energy costs, but you’ll also have peace of mind knowing that your trusty refrigerator is performing at its best, keeping your food fresh and delicious as ever.
Recommended Posts:


