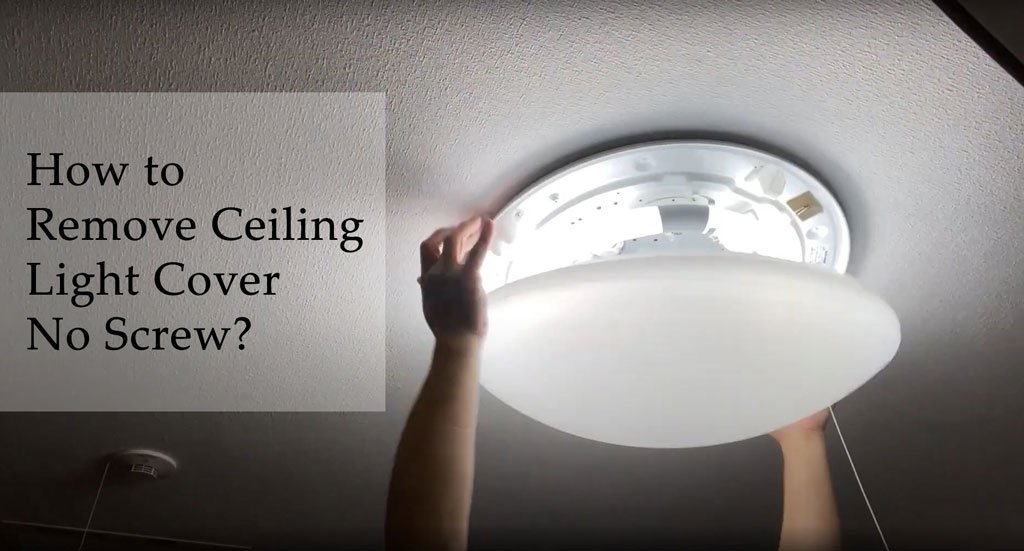
Removing a ceiling light cover with no screw may look complex for some users. Indeed, the uninstall process of ceiling lights depends on their models. Several types are available in the market, like spring-loaded, groove mechanism, clip type, threaded retainers etc. but don’t worry, some basic handy skills and proper tools can make this job easier for you.
First, try with a flat-headed screwdriver. Insert the tool between the light and ceiling gap, then pry it off. Another way is to apply a utility knife that helps to cut the cover off. But you should follow certain precautions while Removing a ceiling light cover with no screw.
We are here to help with six possible steps for this task. Additionally, we also explain different ceiling light types and their removal process along with precautions that help you perform the tasks safely. So, keep reading the guide and remove your ceiling light on time.
6 Methods to Remove Ceiling Light Cover Based on Type
Here are the ceiling light models and common removal tips for them. We go through six different ceiling light fixtures with no screws. Depending on your model type, you can apply the steps discussed below.
1. Notch or Groove Mechanism
This is a standard ceiling light mechanism used in homes. The installation is known for easy twist and pull-down removal. If your ceiling light follows the same fixture, try to use a pry bar or flat-headed screwdriver to remove them.
Start inserting the head into the edge of the light or gap and push with gentle pressure. The process will remove the metal cover and make it easier to pull down light from your ceiling.
However, you should be careful thatno wirings or electrical cords are damaged during the process.
2. Spring-base Cover
This is another standard ceiling light model attached to the base of a metal spring. In fact the removal of these fixtures is much easier than you think.
You simply push the bottom of the cover until it pops off. The process will leave the ceiling light holding.
So pull down and get to your work. Again, be careful not to damage any wires or cords behind the cover.
3. Clip Holding
Did your ceiling light follow the clip mechanism behind the cover? Follow the simple steps. Push down one end of the clip so the other end can leave the light.
Now carefully pull down the light and keep it placed securely. Remember to grab the light from its bottom while opening the clip. Otherwise, the light can quickly fall after de-attachment.
4. Threaded Retainer
Threaded retainer ceiling light attached by glass shade or diffuser. Besides, the cover has screws to hold the light. So first, you have to unscrew the base to remove the glass shade.
The next step is to use a flat-headed screwdriver that directly goes to the gap between the cover and the ceiling. So Push your tool, and give a twist in a back-and-forth format. You can apply a utility knife if the screwdriver doesn’t lose the cover.
Once the diffuser detached from the ceiling, grab your light and pull it down.
5. Slotted Connectors
If your ceiling light has slotted connectors, joints would be highly stiff. But don’t worry, we have a unique tool to remove ceiling light covers with no screws.
Take a putty knife and detach the connector until it pops off. If it doesn’t work to lose the base, try with a pair of needle nose pliers. Use the tool by twisting the slotted connector in the back-and-forth format. The steps will loosen the cover and make it easier to pull down such ceiling light fixtures.
6. Flush Mount
A small switch or lever on the roof attaches to these lights. You can find the attachment behind your light cover.
So, use your finger to press down the button and pull up the closed. Leave it when it pops off from the attachment. Again be careful not to damage any wires or electric cords available behind the cover.
Steps to Remove Ceiling Light Cover No Screws
We hope you understand the different steps to remove ceiling light covers with no screws. So determine your ceiling light type and apply the steps discussed above.
However, previously we shortly discussed the process. Below we give you a step-by-step guide to removing roof light covers.
1. Determine the Model
First, you should understand your roof bulb attachment style before removing it. The installation will usually be a clip, screw, or spring base cover.
2. Remove the Cover
If your ceiling bulb is attached with a clip base, try to pull out the attachment. Mostly there are two clips available on the cover.
So grab the light from the bottom and drag the hook down. That’s how the attachment will release the bulb from the roof.
Some ceiling LEDs also use a twist-and-pull option to remove. So apply this method if your bulb allows it.
3. Apply Gentle Pressure
Some ceiling bulbs are highly stiff to the joints. In this case, you have to cut the cover from its edge.
So use a chisel, utility knife, or flat-headed screwdriver to insert into the gap.
After inserting the tool, apply gentle pressure to the back-and-forth style and easily release the light from your roof.
The golden rule is to apply pressure until it sounds pop off. The sound will ensure the attachment is loosened from its cover.
4. Disconnect Available Wiring
It is essential to inspect the wires or electrical cords available at the back of the cover. Use a multimeter or wire tester to determine the voltage or current to the wires.
You should also check for any damage or loosened cords if available. Call a professional if you have any doubts about roof electrics.
5. Put Back the Ceiling Bulb.
After removing the cover and inspecting the wires, put back the light. Generally, the roof bulbs are secured by bolts or nuts.
So you have to use a screwdriver to remove the old bulb and reinstall a new one. Always follow manufacturer instructions to replace ceiling LEDs by yourself.
6. Reattach the Cover
After installing and inspecting the functions of your light, place the cover. If your roof bulb has a clip feature, snap it in place.
For screw options, take new bolts and adjust them in the gaps. After installing the cover, turn on your light and enjoy the brightness.
Some Precautions You Need to Consider
Ceiling lights are mainly installed with screws. But Sometimes, a glue pad secures these attachments.
In this case, you may face difficulty removing the cover. Still, you can follow the below tips to break down the sticky glue pad.
- Use a putty knife and cut from the edge until the cover breaks down.
- You can also apply heat from the hair dryer, heat gun etc, to the glue pad. It will dry the material and easily break from the ceiling.
- If the above steps don’t work in your favor, try something hard or citrus-based cleaners like acetone or Goo Gone. Apply it to the glue pad and rub for minutes until its breaks down
- Use additional tools like pliers to screwdrivers to remove the sticky pad. If any glue is left on the ceiling, rub it using a wire brush or sandpaper.
Also Read: Thing to Consider for Buying Ceiling Fans for Your Home
FAQs
How Do You Remove a Ceiling Light Cap?
Two types, bolts and clips, mainly secure ceiling bulb covers. So unscrew the threads if your light follows this attachment. But if your roof bulb has a clip base cover, pull off the attachment by dragging down. Remember, you should grab the dome from its bottom, otherwise, it will fall.
How Do I Remove a Rectangular Ceiling Light Cover Without Screws?
Rectangular roof bulbs mostly follow the twist and pull-off steps to remove. So hold the cover and grab the light from its bottom. Now twist the bulb anticlockwise so that the LED closed will come off from the roof.
How to Remove the Ceiling Light Cover With Screws?
Depending on your roof bulb pattern, you should follow the removal method. If the light has a clip base cover, twist it from one side and pull it down. Similarly, if your bulb has a Threaded retainer, use a screwdriver to remove it. In short, inspect the roof bulbs cover and apply the right method to uninstall.
Conclusion
We hope you understand the removal process of different types of roof bulbs closed. Remember, you should always wear gloves and hold the light from the bottom while removing. Otherwise, the bulb can immediately fall after loosening from its cover. So keep following our step by step guide to remove roof bulbs cover. For more related information, save this website now.


